Copyright © 2001, William Weiland
This plugin module inserts the category name directly below the product name on the basket screen. When a product is in more than one category, the module displays all of them. Each category name is linked to the corresponding category list screen.
1) In admin, click Add Modules link (fig 2)
2) Click the file upload button
3) Browse to find the catbask.mvc file on your hard drive and upload (fig 3)
4) Click Add to add it to the domain
5) Then in admin click on the plus to the left of Stores
6) Click the plus to the left of your store name
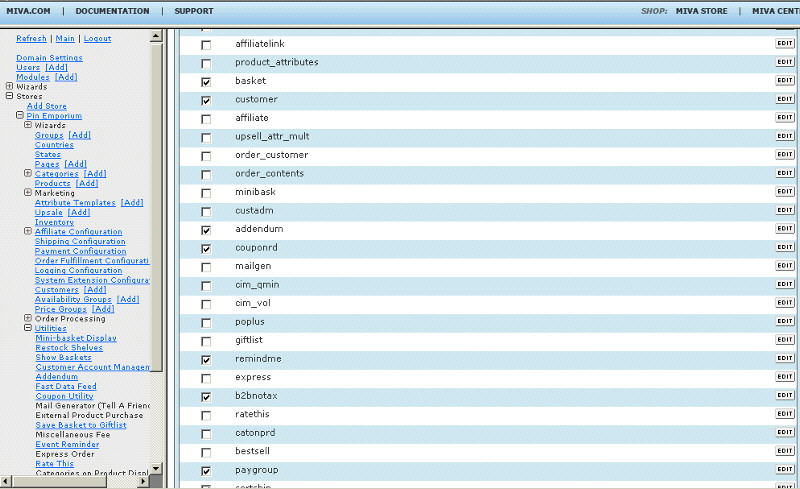
7) Click on the word Utilities under your store (fig 9)
8) Check the box next to the Categories in Basket Screen
9) Click Update
10) Click Pages link to get to the User Interface (fig 4)
11) Click Items link at the top of the User Interface page (fig 5)
12) Click the Add Item button (fig 6)
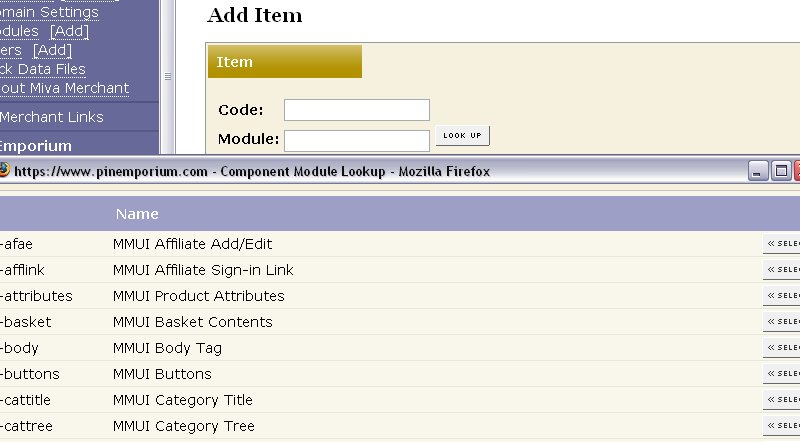
13) Enter catbask for the code (fig 8)
14) Look up and scroll to the last page of items and Categories in Basket Screen should be at the end of the list of items
15) Select Categories in Basket Screen
16) Click the Add button to assign the module
17) Go to Editing Requirements below
The module is called within specific template screens with a render token. It is in the format of
<mvt:item name="catbask" param="getcats" />
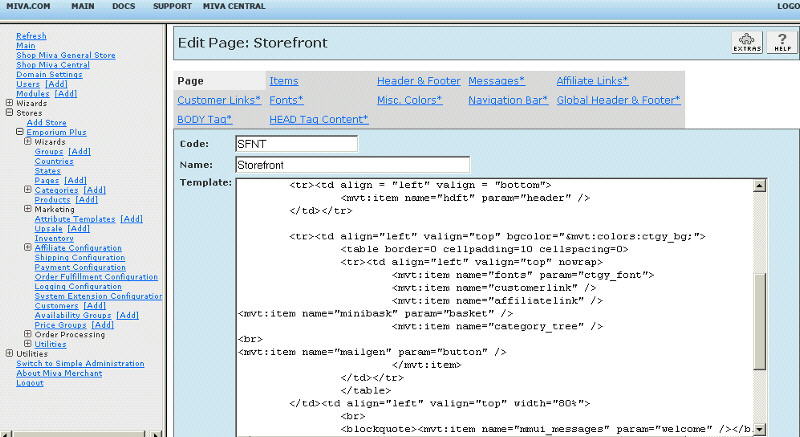
The templates are listed at the Pages link. You will edit the template by inserting the token and clicking the Update (fig 7). Important: After adding the render token to a template page, you must click the Items link for that page, scroll down to the item name and assign it to the page (fig 8). These two steps are repeated for every page that a module's render token is used on.
1) On page 'basket' (basket contents), click the tab at the top labeled Basket Contents.
Insert the following just below the lines
(Special Offer)
</mvt:if>
<mvt:item name="catbask" param="getcats" />
<mvt:if expr="l.settings:item:cats">
<br>
<mvt:foreach iterator="cat" array="item:cats">
<a href="&mvt:global:sessionurl;Screen=CTGY&Store_Code=&mvta:store:code;&Category_Code=&mvta:cat:code;">
&mvt:cat:name;</a>
</mvt:foreach>
</mvt:if>
In addition to categories, I have included a lookup for the product thumb image. You can create a column for the thumbnail images an include the token to retrieve the url. As example, here is code that will show a thum in a column in the basket.
<td align="center" valign="top" nowrap>
<mvt:item name="catbask" param="getthumb" />
<mvt:if expr="NOT ISNULL l.settings:item:basketthumb">
<img src="&mvt:item:basketthumb;" border="0" height="45" width="70">
<mvt:else>
</mvt:if>
</td>
You can also take advantage of the price sum variable we create for the basket and invoice. It sums the base price + the attribute prices to create a formatted_price_sum. To use that feature, just before the price display in the basket contents of the bask page, insert the line
<mvt:item name="catbask" param="bask_getsum" />
Then change &mvt:item:formatted_price; to &mvt:item:formatted_price_sum; and also the &mvt:item:formatted_subtotal; to &mvt:item:formatted_subtotal_sum;
Then you will remove the display of attribute option prices.
You can also use this feature in the checkout screens as they use the basket contents display. You will use the same token as the basket screen.
If you want this feature in the invoice screen, the process is similar, except the token is
<mvt:item name="catbask" param="invc_getsum" />


