Copyright © 2002, William Weiland
Charge your customers by the variable size of the item they are ordering. This module is used to calculate prices on items which are priced, e.g. by the foot, by the inch, or other units of measure. This is particularly useful when the store owner does not want to have a pull down select list of infinite values. The customer enters the two dimensions and the module calculates the price based on the entered numbers (size units) times the price of the first attribute. The store owner determines the storewide number of free units (if any), and the lowest and the highest values that can be used in the measurement. As example, 8" X 10" = 80 square inches. At 10 cents per square inch, the item cost would be $8.00.
1) In admin, click Add Modules link (fig 2)
2) Click the file upload button
3) Browse to find the dim_x.mvc file on your hard drive and upload (fig 3)
4) Click Add to add it to the domain
5) Then in admin click on the plus to the left of Stores
6) Click the plus to the left of your store name
7) Click on the word Utilities under your store (fig 4)
8) Check the box to the left of Dimension Pricing and select Update
9) Click the Dimension Pricing tab to enter the configuration settings. Enter the number of free units allowed before the calculation applies. Also, if you want to limit the customer to specific ranges, enter the low and high values. If you leave these at zero, the customer will be able to enter any amount.
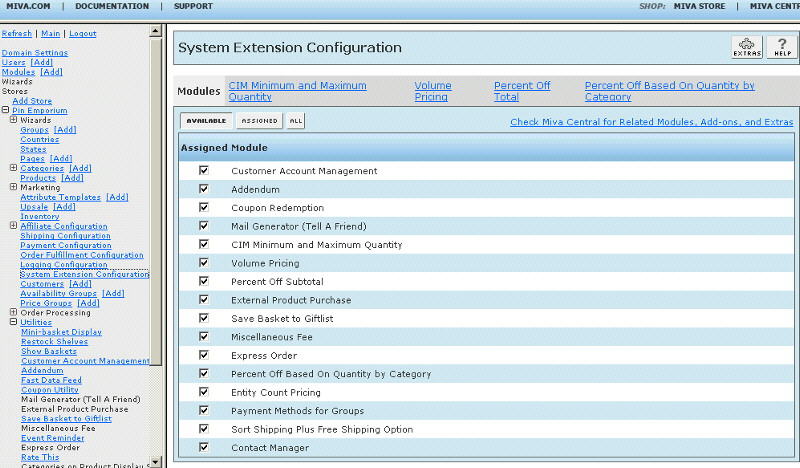
10) Click on System Extension Configuration link (fig 5)
11) Check the box next to Dimension Pricing
12) Click Update
13) The CIM Activity Log (cim_log.mvc) may already be in your store as it is used by many of our modules. Check under the Modules link to see if it is already there. If it is there, skip to 21. If not, then go to 14.
Install cim_log.mvc
14) Again, click Add Modules link
15) Click the file upload button
16) Browse to find the cim_log.mvc file on your hard drive and upload
17) Click Add to add it to the domain
18) Click on the Logging Configuration Link
19) Check the box next to the CIM Activity Log
20) Click Update
Update cim_log.mvc
21) Click Modules link
22) Scroll down to CIM Activity Log and click the link
23) Click the file upload button
24) Browse to find the cim_log.mvc file on your hard drive and upload
25) Click Update to update the module
Include two text attributes in any product you want this action to apply. Do not use attribute templates. The attribute CODEs must begin with SX1- and SX2- You can follow that with anything, e.g. SX1-Length and SX2-Width. If you specify a range in admin, you might want to include that info as part of the attribute PROMPT, e.g. Length in inches (1-1000). You assign the price/cost of each unit (SX1 X SX2) in the first attribute (SX1-), e.g. 1.25.