Copyright © 2000, William Weiland
Add additional field data within the product narrative description. This data will appear on the screen as if it is in a separate field, but is really just part of the narrative memo field. The module can also provide a shortened product description display, eg the first 200 characters.
1) In admin, click Add Modules link (fig 2)
2) Click the file upload button
3) Browse to find the flexdesc.mvc file on your hard drive and upload (fig 3)
4) Click Add to add it to the domain
5) Then in admin click on the plus to the left of Stores
6) Click the plus to the left of your store name
7) Click on the word Utilities under your store (fig 9)
8) Check the box next to the Flexible Description Field
9) Click Update
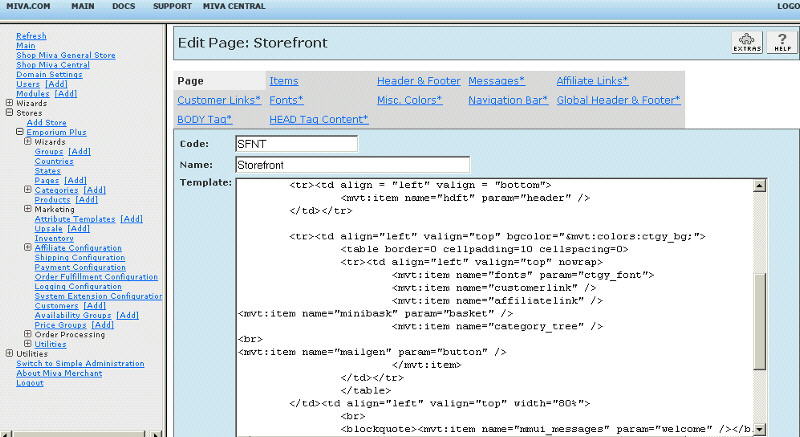
10) Click Pages link to get to the User Interface (fig 4)
11) Click Items link at the top of the User Interface page (fig 5)
12) Click the Add Item button (fig 6)
13) Enter flexdesc for the code (fig 8)
14) Look up and scroll to the last page of items and Flexible Description Field should be at the end of the list of items
15) Select Flexible Description Field
16) Click the Add button to assign the module
At the end of the narrative description field you can add pseudo-field data. For example if you wanted to add an author and publishing date to a product, you would add the following to the end of the narrative description:
^author~Hemmingway, Ernest
^published~1946
The ~ character in the middle is used to separate the pseudo-field name from its data. You must use field names which are single word. For example, published would work, publishing date would not.
While the intent of this module is not to run searches, single word field names would make a search on author~Hemmingway using the standard Merchant search function land on only records which contained this exact concantonated word. While you would not use the text input as it is, a select box with a list of authors and the option value containing the appropriate string could easily be used to identify the correct records containing this particular string.
The module will save the pseudo-field names and values so that you can display them on several of the product screens. Since the text is within the product description, the first thing to change is the regular description display. The main description is saved to a variable named product:descrip:main. So you will change &mvt:product:descrip; to &mvt:product:descrip:main; Before displaying any of the description variables, insert the fields token. Also, the second step is to make sure you have assigned the flexdesc to the items list of the page template you are editing. IMPORTANT: Do not skip the second step.
Example prod page template
<mvt:item name="flexdesc" param="fields" />
&mvt:product:descrip:main;
<mvt:if expr="NOT ISNULL l.settings:product:descrip:manufacturer">
<br>Manufacturer: &mvt:product:descrip:manufacturer;
</mvt:if>
Example ctgy page template showing use of pseudo-field called brief
<mvt:item name="flexdesc" param="fields" />
<mvt:if expr="NOT ISNULL l.settings:product:descrip:brief">
<br>Manufacturer: &mvt:product:descrip:brief;
</mvt:if>
This module has a special token for shortening the main description. This is useful on the category page. The parameter is substr followed by the length of the intended text. This will not be exact as it shortens the string, then strips out html tags, then shortens it to the last period in the remaining string.
Example ctgy page template showing use of substr token
<mvt:item name="flexdesc" param="substr:250" />
<mvt:if expr="NOT ISNULL l.settings:product:descrip:substr">
<br>Manufacturer: &mvt:product:descrip:substr;
</mvt:if>