Copyright © 2001, William Weiland
Add insurance to the order total based on rates you establish in admin.
1) In admin, click Add Modules link (fig 2)
2) Click the file upload button
3) Browse to find the insursub.mvc file on your hard drive and upload (fig 3)
4) Click Add to add it to the domain
5) Then in admin click on the plus to the left of Stores
6) Click the plus to the left of your store name
7) Click on the word Utilities under your store (fig 4)
8) Check the box next to Insurance by Subtotal
9) Click Update
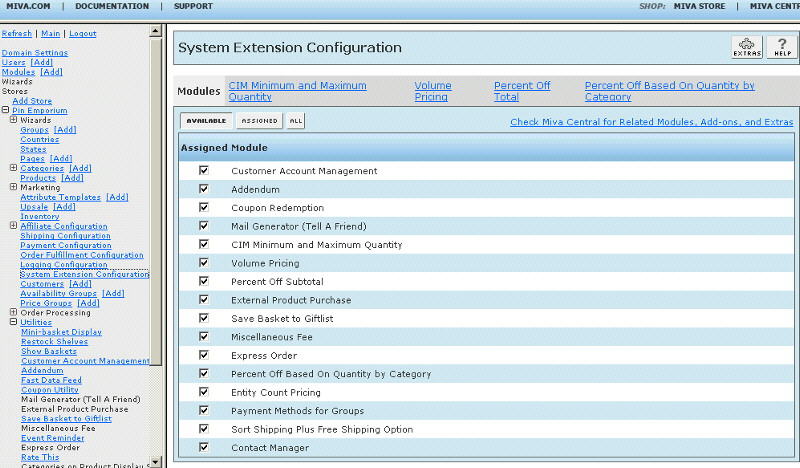
10) Click on System Extension Configuration link (fig 5)
11) Check the box next to Insurance by Subtotal
12) Click Update
13) Click Pages link to get to the User Interface (fig 6)
14) Click Items link at the top of the User Interface page (fig 7)
15) Click the Add Item button (fig 8)
16) Enter insursub for the code
17) Look up and scroll to the last page of items and Insurance by Subtotal should be at the end of the list of items
18) Select Insurance by Subtotal
19) Click the Add button to assign the module
In the Utility Configuration screen you will enter your store's insurance rates. The input has a guide to the left of the input field. In addition to those examples, in version 5.004 or newer of the module you can make it a percent of the subtotal rather than a fixed amount in each range. So you could have .01|49.99|1.10^ which would add $1.10 insurance if the subtotal was between 1 cent and $49.99. If you change that to .01|49.99|10%^ the insurance would be 10% of the subtotal within that range. Each range can have a different percentage.
The module is called within specific template screens with a render token. It is in the format of
<mvt:item name="insursub" param="calc" />
The templates are listed at the Pages link. You will edit the template by inserting the token and clicking the Update (fig 9). Important: After adding the render token to a template page, you must click the Items link for that page, scroll down to the item name and assign it to the page. These two steps are repeated for every page that a module's render token is used on.
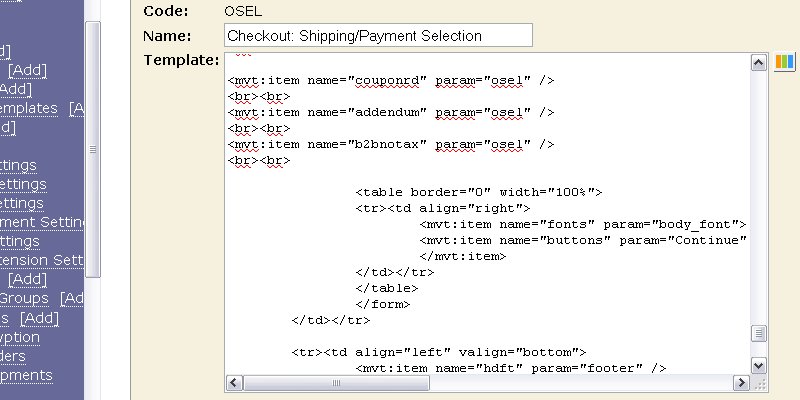
The render token for this module is placed on ONE of the two checkout pages listed below. It only goes on one page. You decide which of these two pages you want to place the token on.
1) On page 'ocst' (customer information), insert <mvt:item name="insursub" param="calc" /> just above the continue button code and the closing </form> tag.
OR
2) On page 'osel' (shipping/payment selection), insert <mvt:item name="insursub" param="calc" /> just above the continue button code and the closing </form> tag.