Copyright © 2001, William Weiland
The purpose of this module is to allow customers to place an order at a MIVA Merchant © MIVA Corp. enabled store which they will then pay for using a Purchase Order. You can require that their Login ID be approved by the store owner BEFORE a purchase order will be used. You can also restrict the usage to a specific availability group.
1) In admin, click Add Modules link (fig 2)
2) Click the file upload button
3) Browse to find the poplus.mvc file on your hard drive and upload (fig 3)
4) Click Add to add it to the domain
5) Then in admin click on the plus to the left of Stores
6) Click the plus to the left of your store name
7) Click on the Payment Configuration link under your store
8) Check the box next to the Purchase Order Plus
9) Click Update
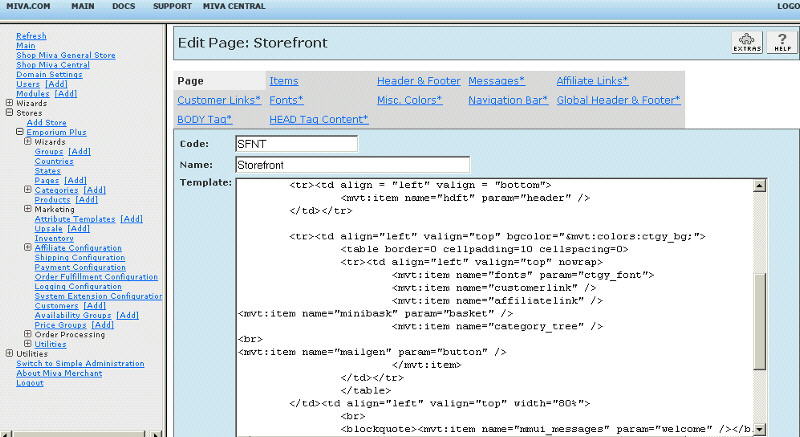
10) Click Pages link to get to the User Interface (fig 4)
11) Click Items link at the top of the User Interface page (fig 5)
12) Click the Add Item button (fig 6)
13) Enter poplus for the code (fig 8)
14) Look up and scroll to the last page of items and Purchase Order Plus should be at the end of the list of items
15) Select Purchase Order Plus
16) Click the Add button to assign the module
Enter data into the applicable input field.
Customer Login IDs
Enter the approved Customer Login IDs. Put one on each line followed by the
^ character. Each ID must be terminated with the ^ character.
Availability Group
You can specify an availability group which would allow members to use the
purchase order method of payment.
You can add a message and/or icon to the invoice screen using render tokens. The tokens are in the format of
<mvt:item name="itemcode" param="xxxx" />
The templates are listed at the Pages link. You will edit the template by inserting the token and clicking the Update (fig 7). Important: After adding the render token to a template page, you must click the Items link for that page, scroll down to the item name and assign it to the page (fig 8). These two steps are repeated for every page that a module's render token is used on.
This module has five tokens available:
<mvt:item name="poplus" param="icon_opay" /> for icon display on the opay screen,
<mvt:item name="poplus" param="msg_opay" /> for message display on the opay screen,
<mvt:item name="poplus" param="icon_invc" /> for icon display on the invc screen,
<mvt:item name="poplus" param="text_message" /> for invoice message display on the invc screen,
<mvt:item name="poplus" param="html_message" /> for invoice message display on the invc screen
Q: How can I show the purchase order number in the merchant email?
A: There is no place to put tokens in the merchant notification email. It is not a template email. You can either get my mail manager module (which is a template email for customer and merchant notification and welcome emails) or you can CC yourself on the customer email (which is a template email). The token would be &mvte:global:POPlus_Pay;