Copyright © 2001, William Weiland
Customers can enter event reminder dates and will be notified via email when that date arrives.
There are three files in the remindme.zip distribution file. Unzip remindme.zip. Upload the remindme.mvc as a module. The cim_log.mvc is also uploaded as a module. The remind.mvt is a template and is copied and pasted per the instructions when you get to that step.
1) In admin, click Add Modules link (fig 2)
2) Click the file upload button
3) Browse to find the remindme.mvc file on your hard drive and upload (fig 3)
4) Click Add to add it to the domain
5) Then in admin click on the plus to the left of Stores
6) Click the plus to the left of your store name
7) Click on the word Utilities under your store (fig 9)
8) Check the box next to Event Reminder
9) Click Update
10) Click Pages link to get to the User Interface (fig 4)
11) Click Items link at the top of the User Interface page (fig 5)
12) Click the Add Item button (fig 6)
13) Enter remindme for the code (fig 8)
14) Look up and scroll to the last page of items and Event Reminder should be at the end of the list of items
15) Select Event Reminder
16) Click the Add button to assign the module
17) Again, click Pages link to the User Interface (fig 4)
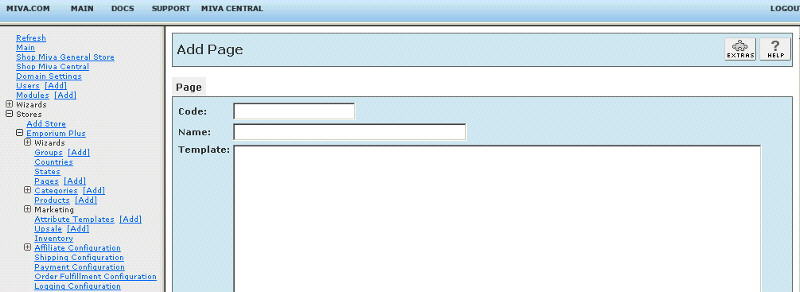
18) Click the Add Page button
19) Enter the page Code as RMND (fig 7)
20) Enter the page Name as Event Reminder
21) To get started, copy the contents of remind.mvt to the clipboard and paste it into the page Template input and click the Add button. Note: this is a complete page with several lines. If your text editor opens it as an html file, you will need to view source in order to copy the contents to the clipboard.
22) Click on the Items link at the top and assign the following items to the page and update; head, hdft, store, body, category_tree, navbar, colors, fonts, customerlink, affiliatelink, remindme
23) The CIM Activity Log (cim_log.mvc) may already be in your store as it is used by many of our modules. Check under the Modules link to see if it is already there. If it is there, skip to 32. If not, then go to 24.
Install cim_log.mvc
24) Again, click Add Modules link
25) Click the file upload button
26) Browse to find the cim_log.mvc file on your hard drive and upload
27) Click Add to add it to the domain
28) Click on the Logging Configuration Link
29) Check the box next to the CIM Activity Log
30) Click Update
31) Skip to 37
Update cim_log.mvc
32) Click Modules link
33) Scroll down to CIM Activity Log and click the link
34) Click the file upload button
35) Browse to find the cim_log.mvc file on your hard drive and upload
36) Click Update to update the module
37) See the editing requirements below on how to add the Event Reminder button and form to pages in the store. You can put the button on any page. As you can see, it is already in the newly created RMND page.
In the Utilities Configuration screen you will enter several items. One of them is which screen you will have the program "flush" pending emails. When a customer browses your store, at the end of a particular screen load, merchant will flush the pending emails if the last digit of the seconds (time) is a zero. Thus, about every 10th display of the screen you choose, Merchant will flush the next batch of pending emails. It will only flush five at a time or no more than a 15 second delay. I have found that the delay is probably less than a second to flush emails to the server send mail spool. I also think the Product (PROD) screen is the best location to include the "flush". If your customers rarely visit that screen, you may need to pick a different screen.
The module is called within specific template screens with render tokens. They are in the format of
<mvt:item name="itemcode" param="xxxx" />
The templates are listed at the Pages link. You will edit the template by inserting the token and clicking the Update. Important: After adding the render token to a template page, you must click the Items link for that page, scroll down to the item name and assign it to the page (fig 8). These two steps are repeated for every page that a module's render token is used on.
1) On the pages where you want the button to appear, insert
<mvt:item name="remindme" param="button" />
2) On the osel page (shipping/payment selection) insert
<mvt:item name="remindme" param="osel" />
just above the continue button so that it is within the form on the osel page.
3) On the opay page (order payment) insert
<mvt:item name="remindme" param="opay" />
just above the continue button.